How to Reduce Image Size to 20KB, 50KB or 100KB
Use dimensions, format and quality together to meet strict image upload limits without destroying readability.
A target such as 20 KB is extremely small for a modern camera photo. Reaching it reliably requires more than moving a quality slider: you may need to crop unused background, reduce pixel dimensions and choose an efficient format.
The goal is not the smallest file. The goal is the smallest file that still satisfies the receiving service and keeps essential details readable.
Confirm whether the limit is maximum or exact
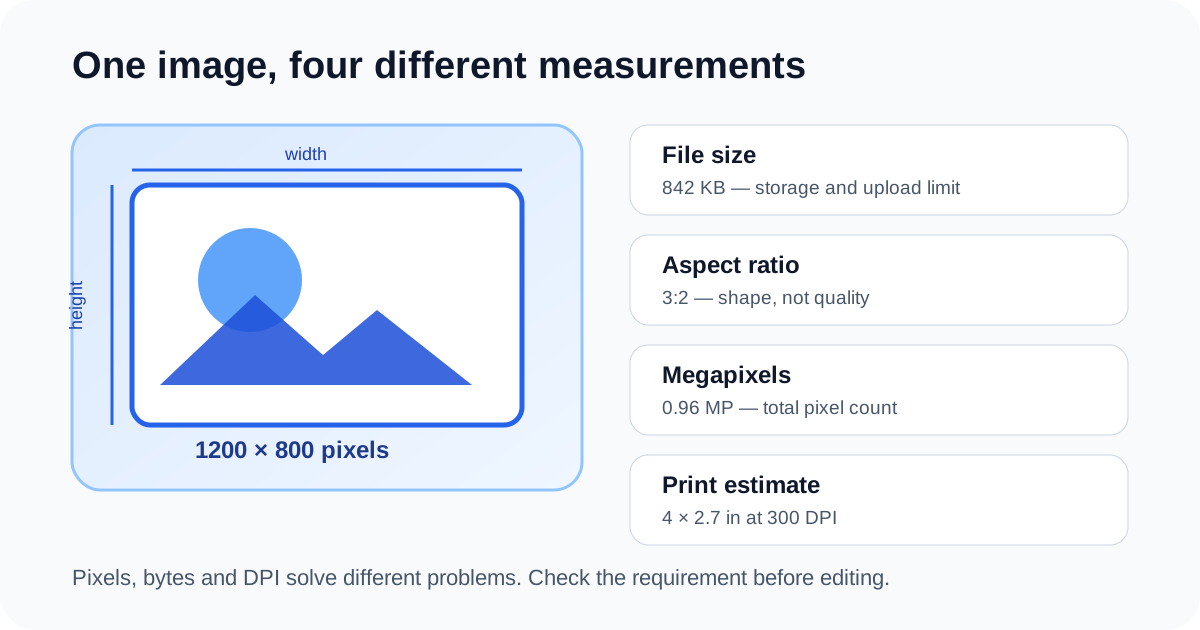
Most portals state a maximum, for example “under 100 KB.” A 72 KB result is acceptable and does not need to be forced to exactly 100 KB. Some systems also specify dimensions, aspect ratio or format; collect all constraints before editing.
Check whether the portal reports decimal KB (1,000 bytes) or binary KiB (1,024 bytes). Leave a small margin below the stated limit to avoid rejection caused by rounding.
Remove pixels that do not help
Crop empty walls, desk surfaces and excessive background before compression. Then reduce dimensions. For an ID-style face photo, a clean 600–1000 pixel height may be more useful than keeping a 4000-pixel camera image.
Reducing dimensions is often visually cleaner than keeping all pixels and applying severe JPEG compression. It also lowers memory use during upload.
Choose a format based on content
JPG is usually the most compatible choice for photos. WebP can be smaller at similar visual quality but is not accepted by every form. PNG is excellent for transparency and sharp graphics, but a detailed photograph saved as PNG can be much larger.
Do not convert a small JPG photo to PNG expecting better quality. Lost detail does not return, and file size often rises.
Inspect the details that matter
At 100% zoom, inspect eyes, printed names, dates, barcodes and document numbers. Compression blocks around letters can cause automated review or human verification to fail.
When the target is impossible without severe damage, return to the source: crop more tightly, rescan with appropriate settings or ask whether a larger limit is available.
Practical starting points
| Target | Starting width | Format / quality |
|---|---|---|
| 20 KB | 400–700 px | JPG, moderate quality, simple crop |
| 50 KB | 600–1000 px | JPG/WebP around 65–80% |
| 100 KB | 800–1400 px | JPG/WebP around 70–85% |
| 200 KB | 1200–1800 px | Higher quality or more detail |
Final checklist
Meet format and dimension rules as well as bytes
Crop irrelevant background
Reduce dimensions before extreme quality loss
Leave a safety margin under the limit
Open the final file and read all important text
Questions people ask
Why can one photo reach 20 KB but another cannot?
Detailed textures, noise and text require more data than a simple background.
Is 20 KB enough for an ID photo?
It can be, but readability depends on dimensions and the portal’s requirements.
Does the target tool guarantee an exact byte count?
No. It approaches the target while maintaining minimum usable output.
This article explains the current DocPixel interface and known trade-offs. Requirements from a receiving institution or software provider take priority.